Elastic beanstalk configuration
Summary
This document describes how to configure and deploy Sequel Security using Elastic Beanstalk.
We are going to deploy each Security component individually in each instance. You will have to create an application in the Elastic Beanstalk console and multiples environments, each environment will have an application of Security deployed (Administrator, Authentication, Authorization and SecurityAPI).
You also will need an external database (AWS RDS database in this example) and a RabbitMQ server.
RDS Database
To configure a database using RDS console, search for RDS in the service catalog https://eu-west-1.console.aws.amazon.com/rds/home?region=eu-west-1#databases
In this example we will create a database with the following options:
- Standard create
- Microsoft SQL Server
- SQL Server Express Edition (SQL Server 2017 14.00.3281.6.v1)
- Storage type: General Purpose (SSD), Allocated storage: 20, Storage autoscaling: Disabled
- VPC for Sequel internal: vpc-euw1-sequel-test (vpc-32c7a654)
- Publicly accessible: No
- VPC Security group: Choose existing or create a new one, up to you. In this example we use default.
- Availability zone: No preference
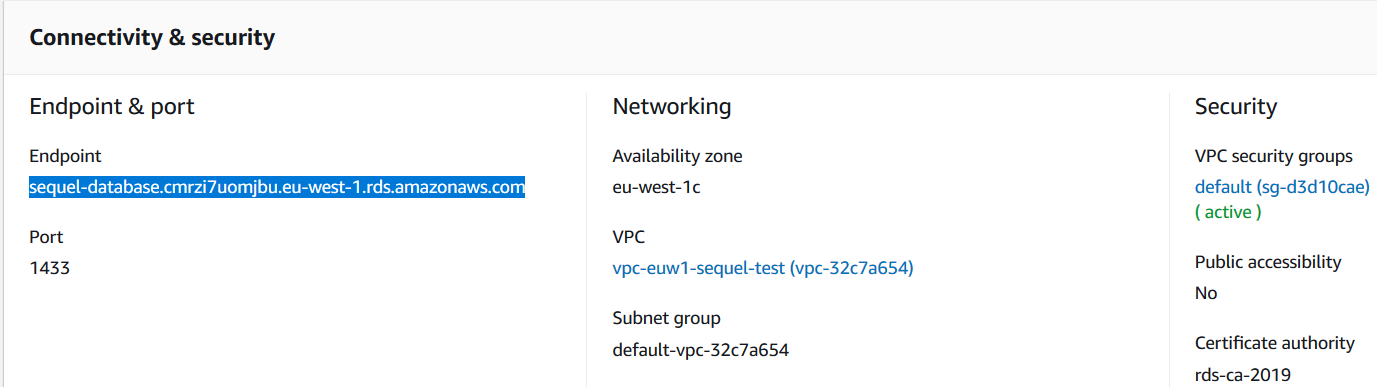
- Database port 1433
- Windows authentication disabled
Once the database has been created, it will show you in the console an URL to connect with.
Elastic beanstalk application and environments creation
Search for Elastic Beanstalk in the Service Catalog.
In applications create a new application. In this example we've created "security_standalone" application.

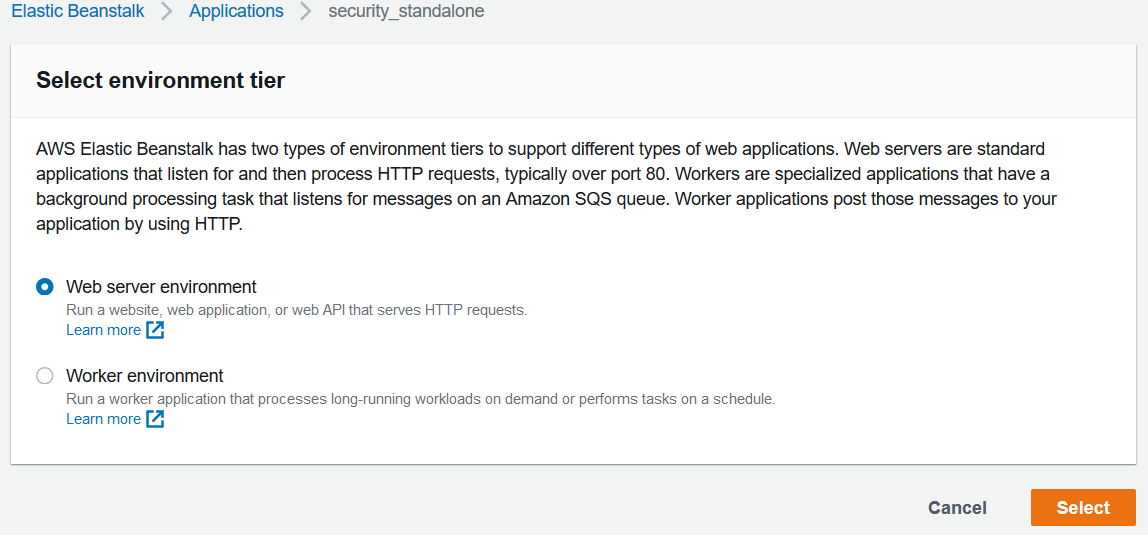
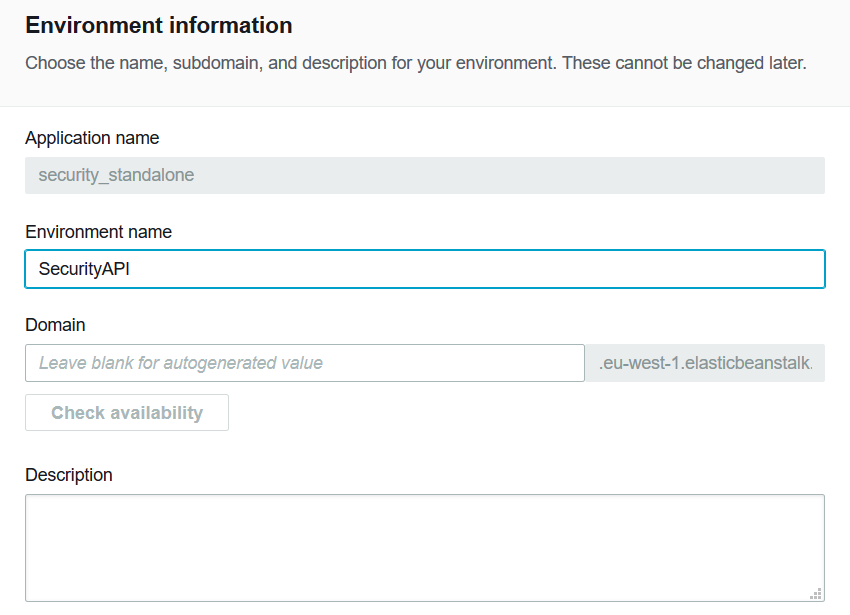
We will click in the application and now we will create an environment for SecurityAPI:
We would need to click in "Configure more options" in order to edit advanced options.
In order to configure a Load Balancer, we are going to edit the "Capacity" with Load Balanced Environment type with 1 Min 1 Max instance:
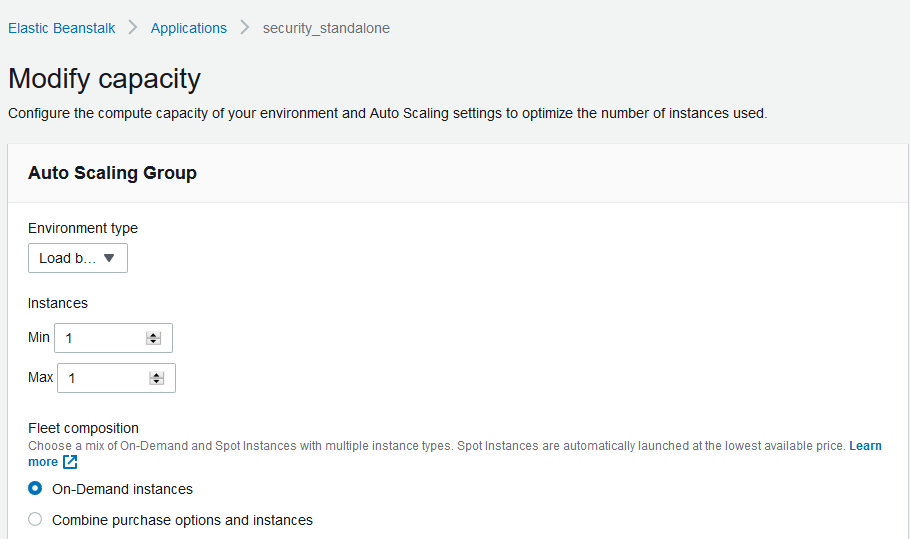
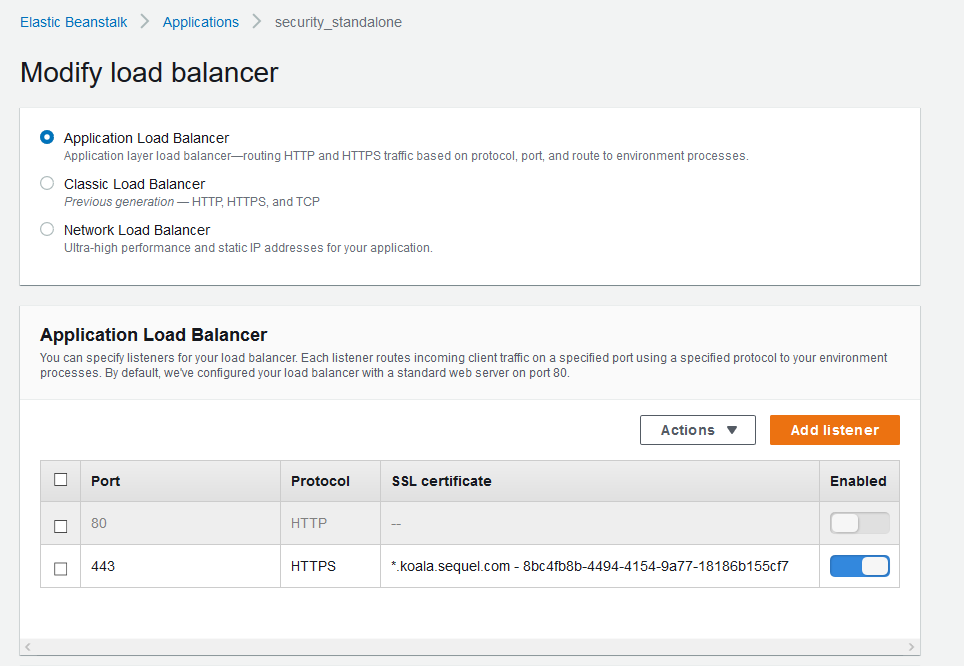
Then we will edit the APL (Application Load Balancer) to listening in the port 443:
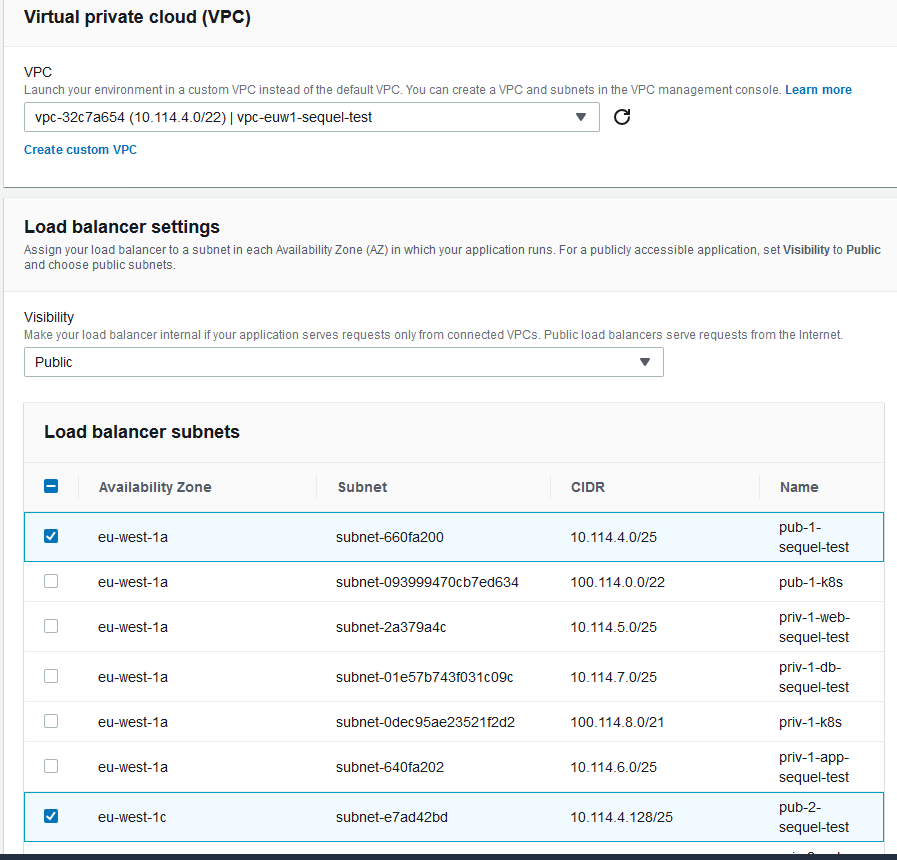
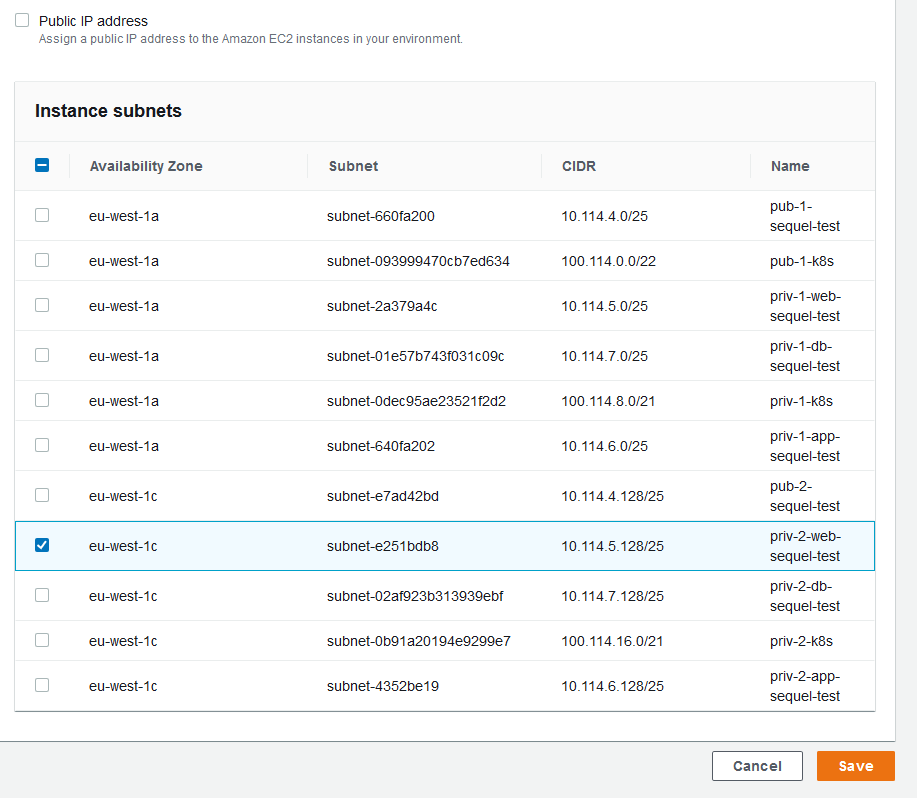
Edit the Network in order to select the correct VPC and the subnets for the ALB and the instance or intances:
Now we need to edit the Security in order to select the key par we want to use for the instances:
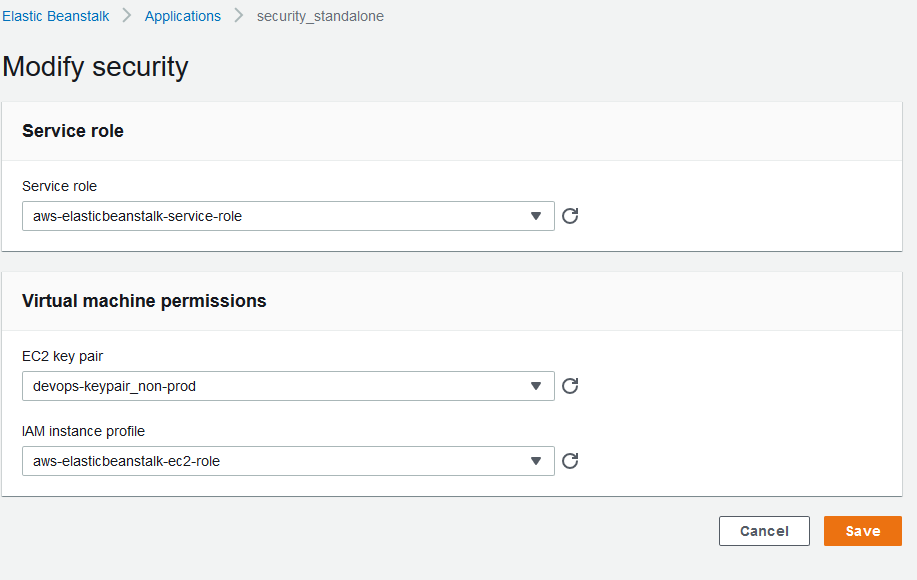
And is important to add Tags START and END for the instances:
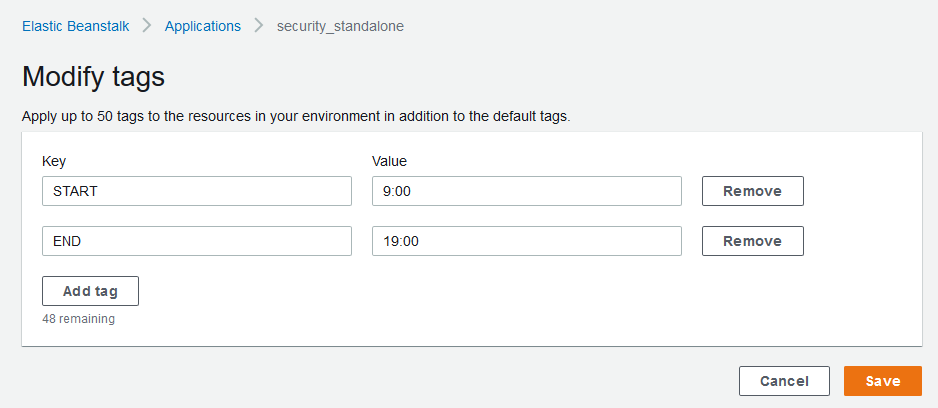
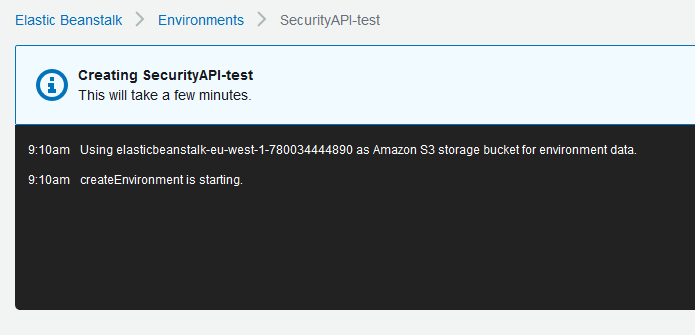
We can now create the environment.
Deploying .NET Solutions
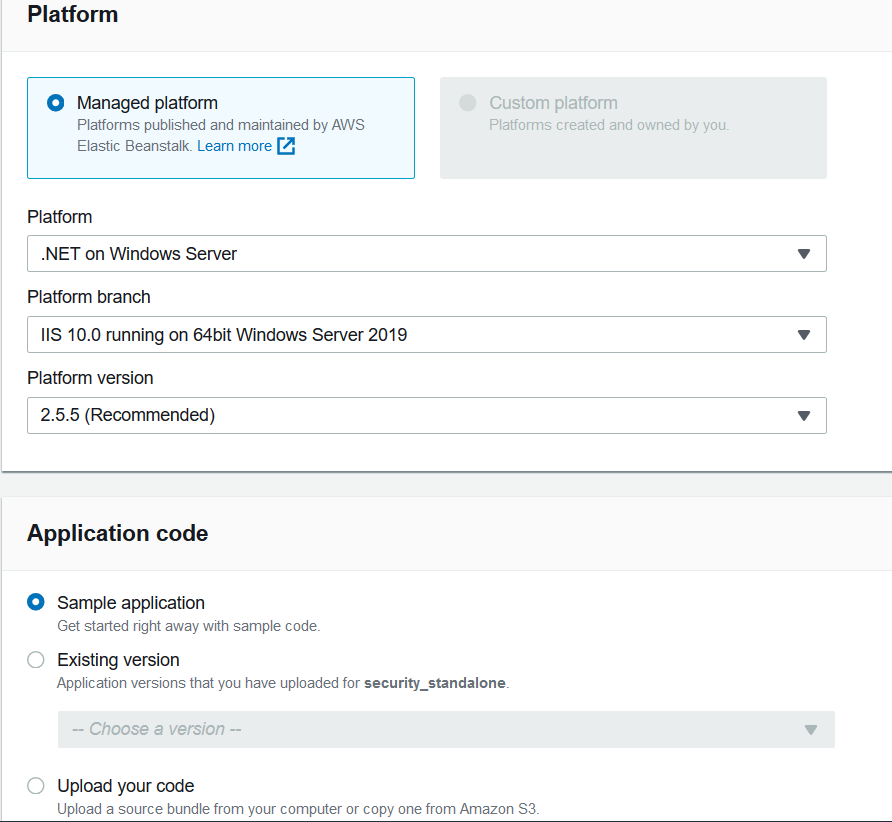
There are different ways to deploy the applications in "Elastic Beanstalk". In this example we will use "Visual Studio 2017" with the "AWS Toolkit for Visual Studio 2017 and 2019".
Please download and install AWS Toolkit for Visual Studio https://aws.amazon.com/es/visualstudio/
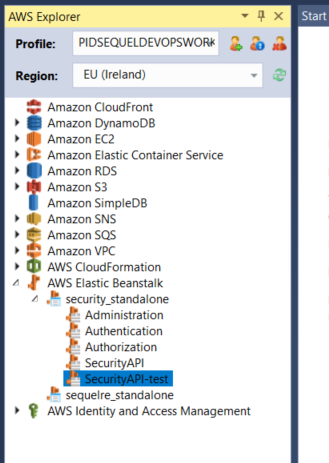
Once installed, you can log in to AWS using your credentials and will see the AWS Explorer:
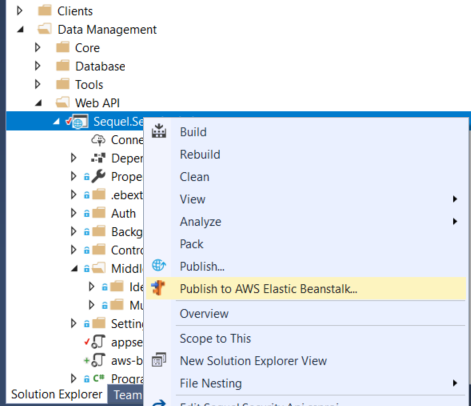
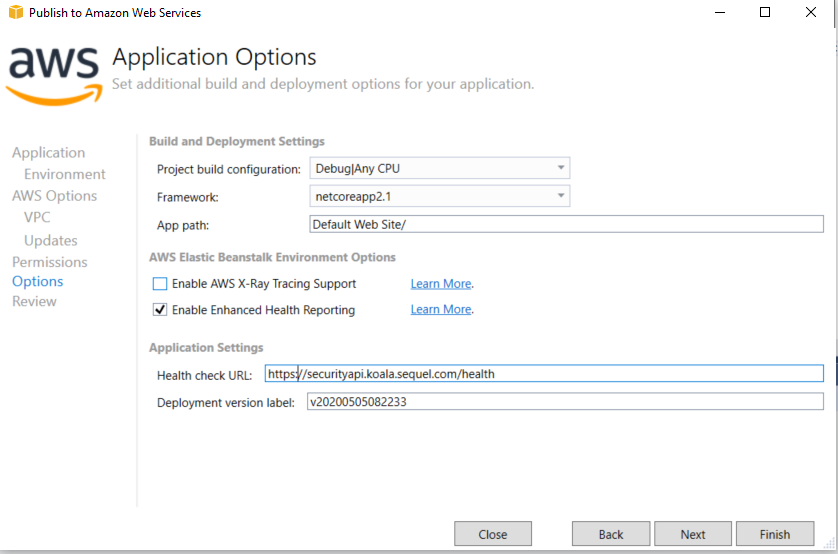
We can now open the solution for Security. We will have to edit the "appsettings.json" for each application using the right variables. You can right click on the Application project and select "Publish to AWS Elastic Beanstalk":
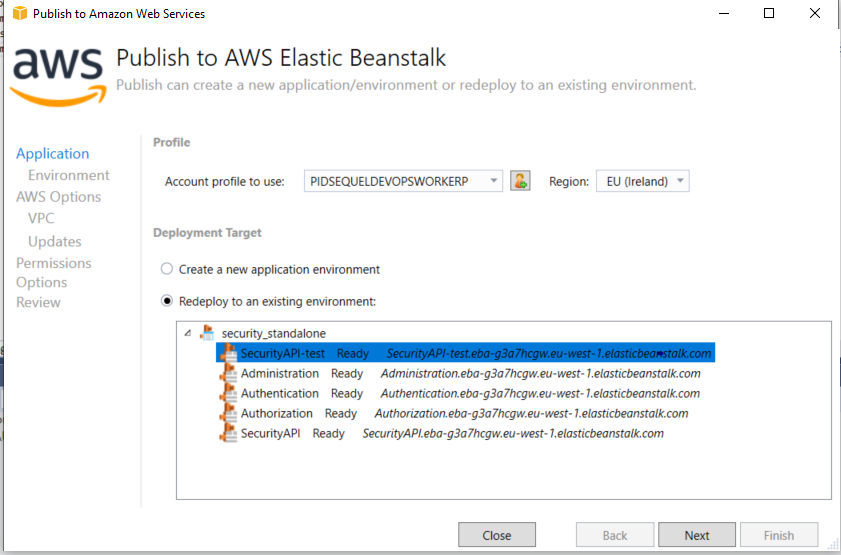

Now the application will be published in our Environment in Elastic Beanstalk.
Deploying Administration
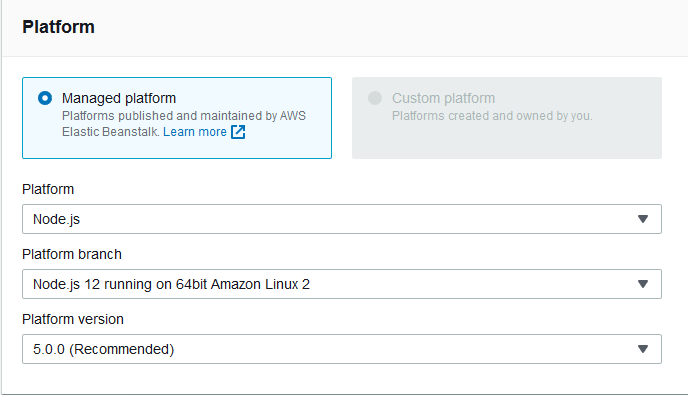
In order to publish this, we will need to create a Node.js Environment in Elastic Beanstalk (instead of .NET).
We will run the "npm run build" command manually from Powershell and publish the output. Once the project has been built, we will add the "appsettings.json" inside:
{
  "api": "https://securityapi.koala.sequel.com/",
  "auth": "https://authentication.koala.sequel.com/",
  "version": "elasticbeanstalk",
  "authenticationFlow": "authorizationCode",
  "router": "hash",
  "allowHttp": "True"
}
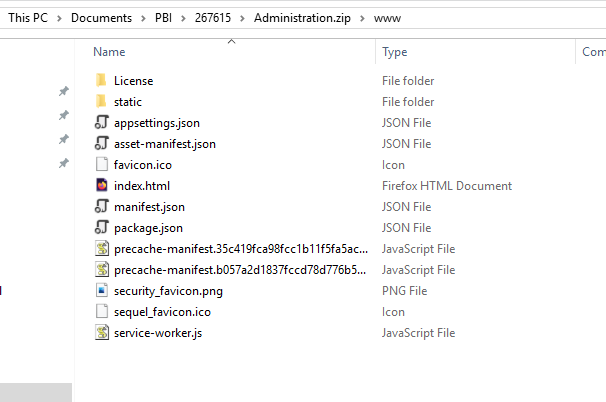
We will create a zip file with the following structure for Administration:
Administration.zip
 - package.json
 - server.js
  -- www(folder)
Remove "@sequel/sequel.web.usersessionavatar" module from package.json Put all the build output inside the "www" folder:
Example of "server.js":
// server.js: This is a tiny NodeJS web server hosting static files from the /www folder in the Elastic Beanstalk deployment ZIP
// Express is a minimal and flexible Node.js web application framework that provides a robust set of features for web and mobile applications.
var express = require('express');
// Let's create an instance of an express web server
var app = express();
// By default, let's use port 80, unless we provide a different value as argument or system environment variable
var port = process.env.PORT || process.argv[2] || 80;
// Let's host all the static files in /www as root of our little web server
app.use('/', express.static(__dirname + '/www'));
// Start listening on the desired port for incoming traffic
var server = app.listen(port, function () {
    console.log('listening on port:', port);
});
NOTE: In the ".env" file you will have to change the path for "PUBLIC_URL" from "/Administration" to "/"
With the zip file created, just publish it from the Elastic Beanstalk console inside the Environment Menu.
Deploying security-sync service
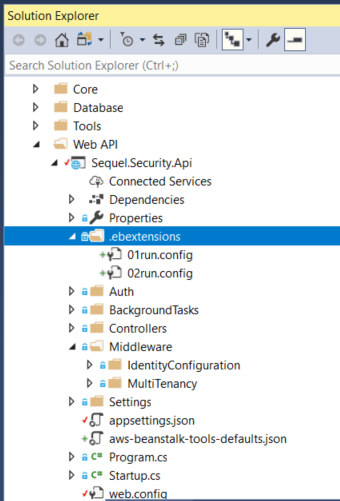
In order to deploy "security-sync", we will going to add some instructions in .config files using YAML or JSON formats (in this example we use YAML). We will add these instructions inside a folder called ".ebextensions".
See url for more details: https://docs.aws.amazon.com/elasticbeanstalk/latest/dg/ebextensions.html
In this deploy we added the ".ebextensions" folder inside Security API project:
First you will have to upload the "SecurityInstaller" with DeploymentManager inside to a S3 bucket named "elasticbeanstalk-eu-west-" like for example "elasticbeanstalk-eu-west-1-780034444890". This is import because the AIM role used for the instances has some policies limitations. The bucket is created by Elastic Beanstalk with a random number already.
The instance created by Elastic Beanstalk does not have the AWS tools installed, so you will have to install it manually inside the instance (Remote Desktop) or create a config file with the instructions to download and install the tools:
- 01run.config
files:
  "C:\\temp\\AWSCLI64PY3.msi":
    source: "https://s3.amazonaws.com/aws-cli/AWSCLI64PY3.msi"
commands:
  install_awscli:
    command: msiexec.exe /qn /i "C:\\temp\\AWSCLI64PY3.msi"
- 02run.config
Then we create the .config file with the instructions to download the SecurityInstaller for the S3 bucket and install the service inside the instance.
Resources:
  AWSEBAutoScalingGroup:
    Metadata:
      AWS::CloudFormation::Authentication:
        S3Access:
          type: S3
          roleName: aws-elasticbeanstalk-ec2-role
          buckets: elasticbeanstalk-eu-west-1-780034444890
sources:
  C:\\temp\\: "https://elasticbeanstalk-eu-west-1-780034444890.s3-eu-west-1.amazonaws.com/SecurityInstallerKoala.zip"
container_commands:
  00_fix_perms:
    command: cacls C:\\temp\\ /t /e /g Everyone:f
  01_install_sync_service:
    command: C:\\temp\\SecurityInstallerKoala\\Sequel.Deployment.Manager.exe -m SyncMetadata.xml -s environmentConfig.json -p SecuritySync
NOTE: Remember to create the Legacy database in the RDS database server before deploying security-sync service